How I made my portfolio website
Table of Contents
How I made my portfolio website
Today I’m going to show you the process I followed for creating my portfolio website (https://antoniosolismz.com/).
Preparation of the environment
First we need to have the machine that our server will run on. In this section I’ll show the steps for creating a Virtual Machine that will host our portfolio.
Deploying and configuring the Virtual Machine
The cloud service I’ll use for my VM is Oracle Cloud since it offers 2 free VM’s, and they are enough to run my simple portfolio (The other VM is hosting this blog 😄). The only downside is that you need a credit card to create the Oracle Cloud account, but this is the case with most cloud providers so it’s whatever.
Create the VM instance
After logging into Oracle Cloud and going to the “Instances” section, we are greeted with the following screen. Here we can the our active VM’s (if any) and can create new instances.

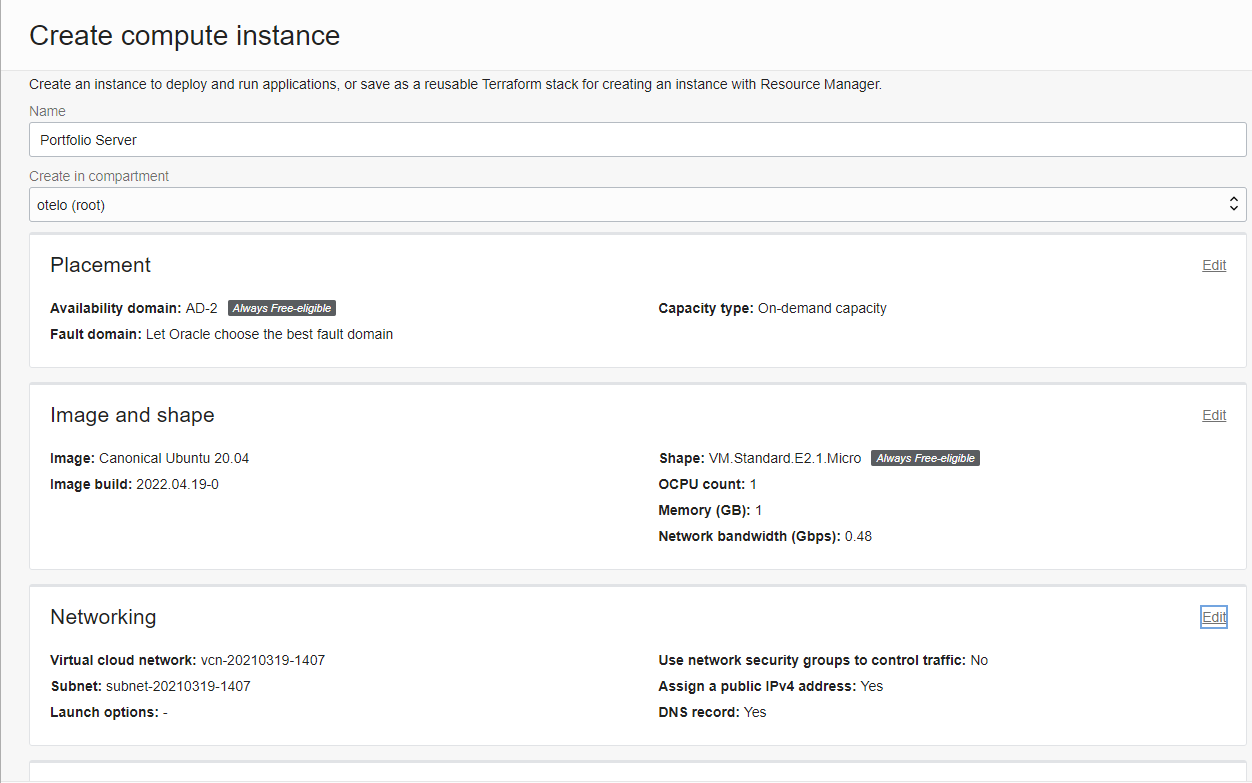
We want to create a new instance so we click on the “Create instance” button. In the new page that comes up you can modify your instance. I’ll leave most settings as they come, only changing the image to Ubuntu and the name of my instance.
Now we need the SSH keys to access our VM. I’ll use Termius but you can use your preferred way to use SSH. Download your private and public keys.

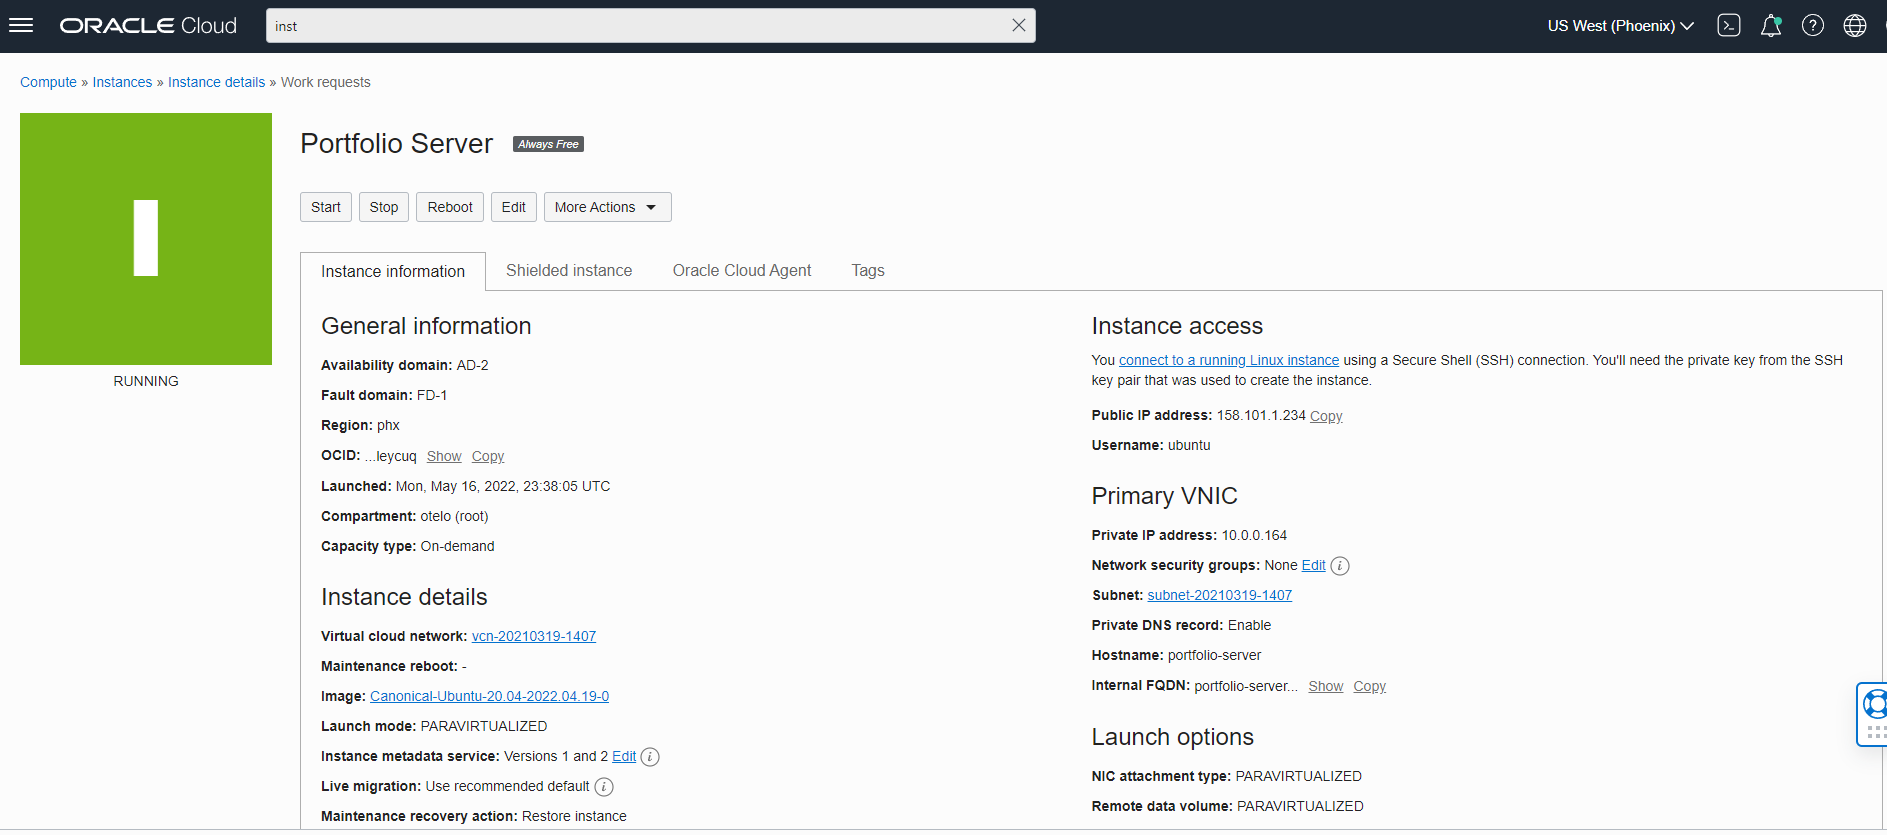
Create your instance and wait for it to be provisioned. Once it’s done it will say it’s running. Use the Public IP address and username to access your server.
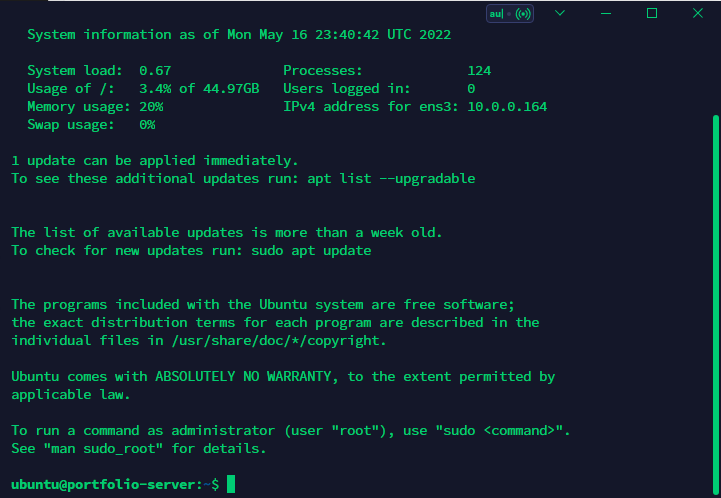
Try accessing your VM. You should get the familiar command line.
Allow internet access
By default these VM’s don’t allow incoming traffic to port 80, so we have to create a rule to allow it so people can access our website.
Click the Virtual cloud network under instance details. The instance details section is in the same page where we saw our instance running.

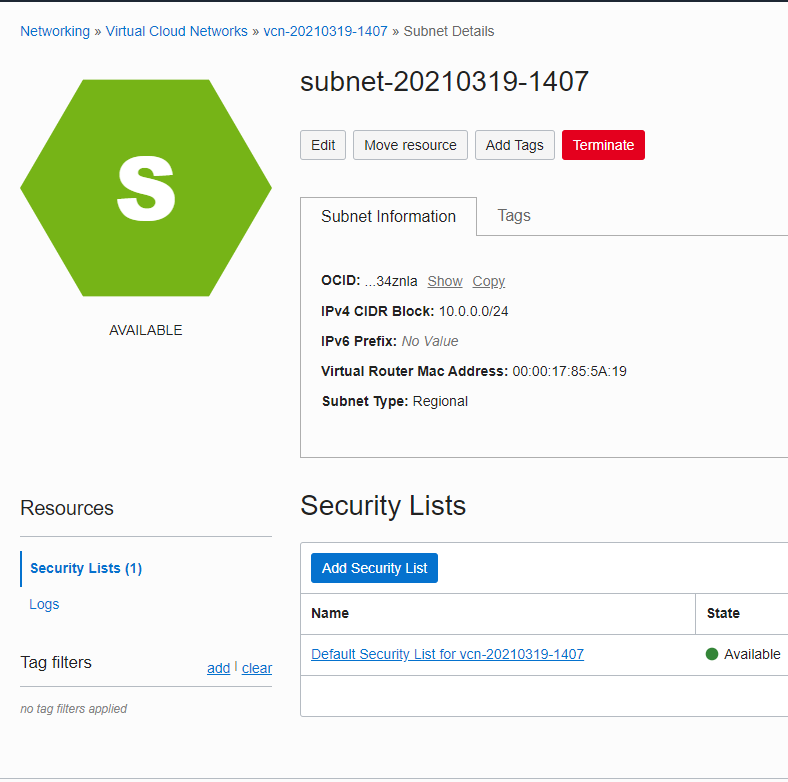
Then on the subnet link.
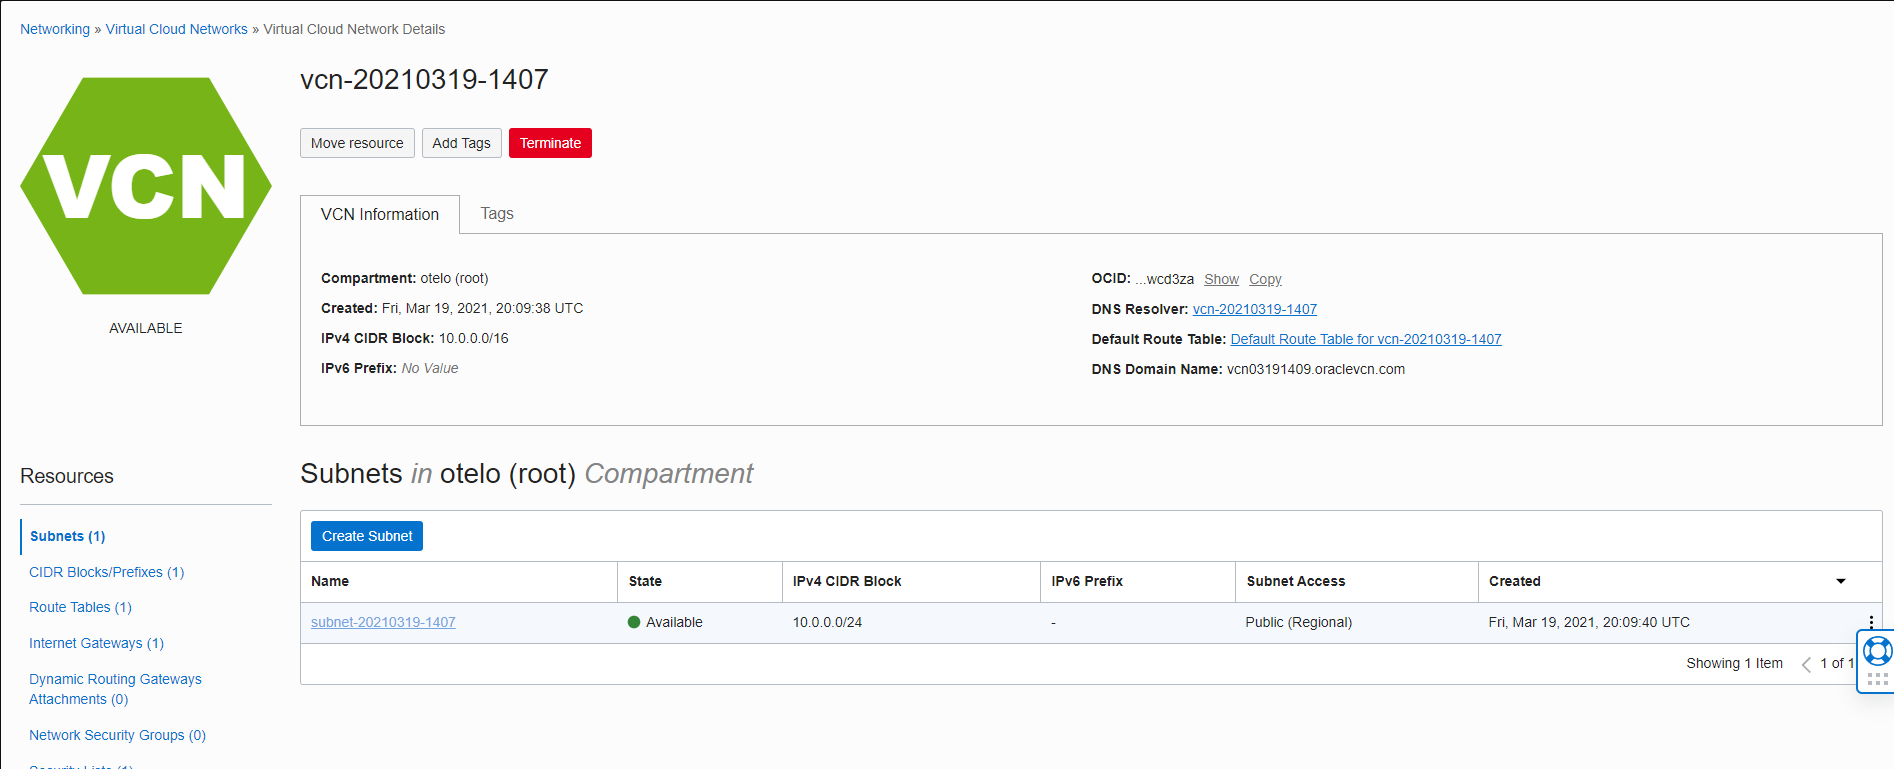
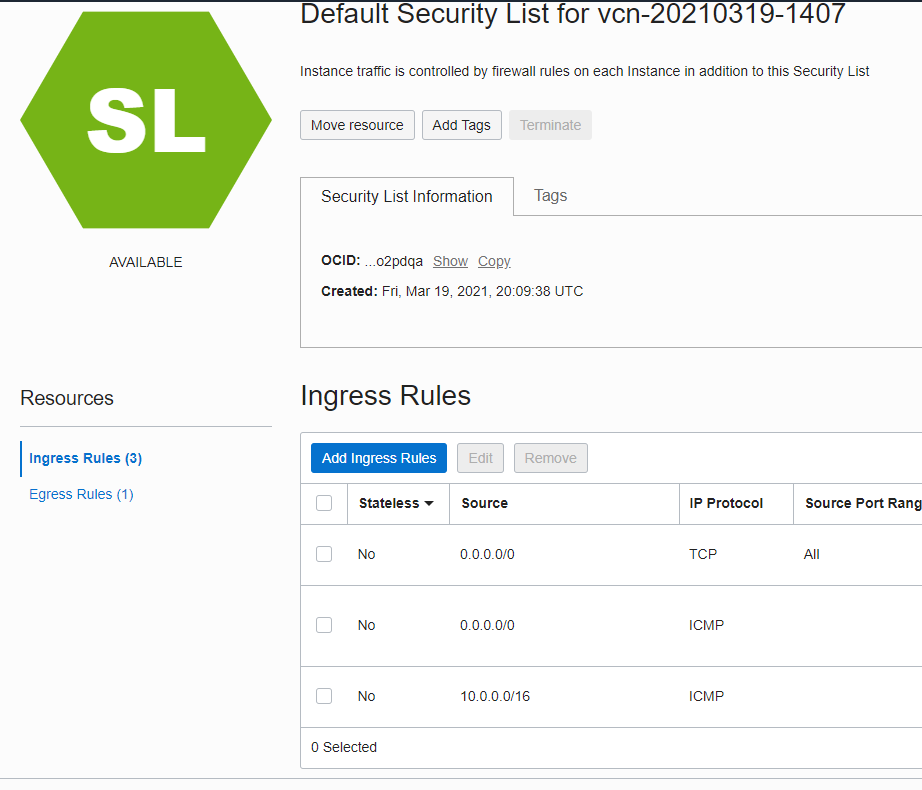
Now on the Default Security List.
Click the button to add a new ingress rule.
The settings that we need to change are: Stateless: checked Source type: CIDR Source CIDR: 0.0.0.0/0 IP Protocol: TCP Destination port range: 80
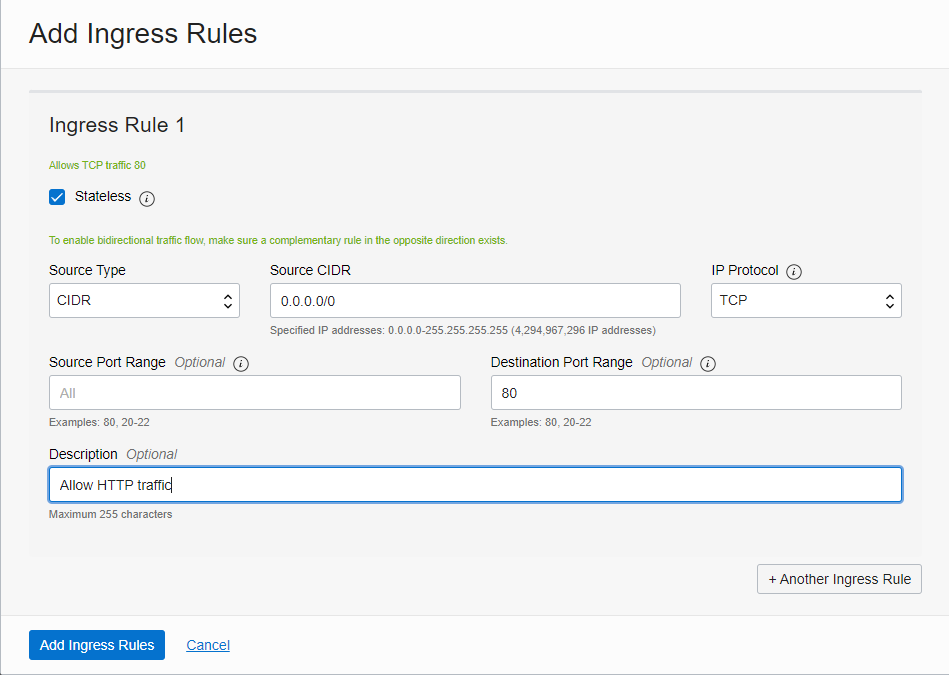
Click on Add Ingress Rules.
Now, back on our VM we have to update our VM’s firewall settings to allow HTTP traffic, using the following commands:
sudo iptables -I INPUT 6 -m state --state NEW -p tcp --dport 80 -j ACCEPT
sudo netfilter-persistent save

Now we can start installing a web server to serve our portfolio.
Installing Apache Server
This is very straightforward, just run the following commands to install Apache Server:
sudo apt update

sudo apt -y install apache2

sudo systemctl restart apache2
Now if we go to the public IP of our VM, we should see the following screen:
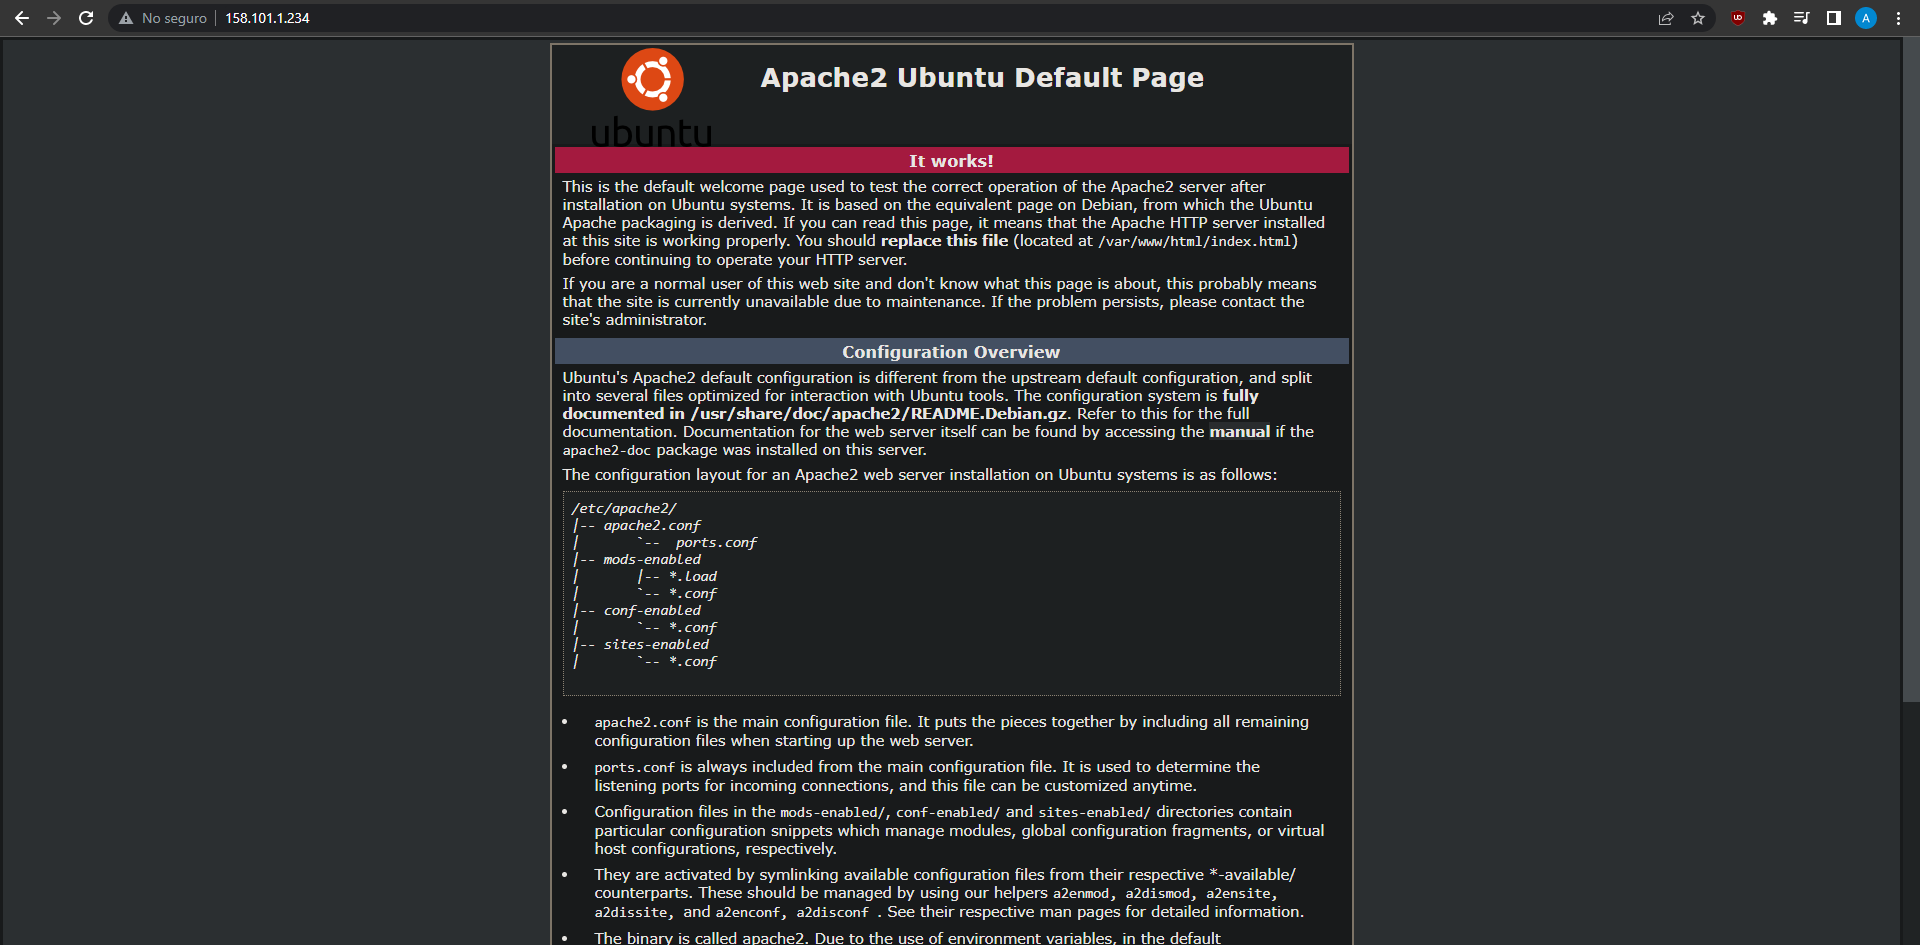
With our webserver done, we can now make our domain point to it.
Adding our domain name
I had already bought my domain with Cloudflare. In my opinion it was the best option since is was the cheapest price, it is a reputable company, and has many other useful services.
After logging into cloudflare, in the DNS settings under your domain you can find this screen. To add our server, we click on the Add record button. Now we just have to add an “@” to indicate we want it as our root and the public IP address of our server.

After clicking save, it should look like this:

Now we can access our custom domain!

With our VM ready, we can start the preparations for developing our website
Installing Gatsby
I’m using Gatsby to quickly create my portfolio, so we need to install it first with its dependencies. The steps in this section should be performed both in our local machine (where we’ll develop the site) and our web server (where we’ll host the site).
Install Node.js
Since Gatsby runs on node, we need to install it first using the command:
sudo apt install nodejs
nodejs -v
We also need to install the node package manager:
sudo apt install npm
npm --version

Install Gatsby
Now we can install Gatsby with this command:
npm install -g gatsby-cli
In my Windows machine (local for development) I got this success message:

But in my web server I got this error:
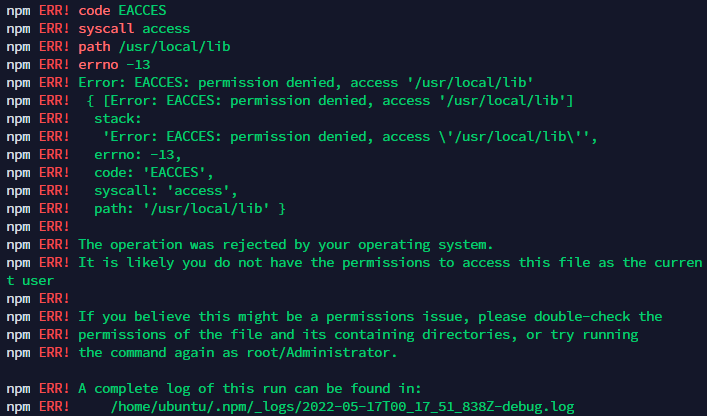
Since we won’t be developing in the web server, this isn’t important and we won’t be installing Gatsby in the VM. In the end we can just copy the built website to the VM and everything will work as it should.
Install Gatsby template
The template that I’ll be using is https://github.com/codebushi/gatsby-starter-dimension. I found it very pretty and more than enough for my portfolio. The only downside is that changing the contents isn’t as easy, but I’m honestly just nitpicking at this point.
gatsby new portfolio https://github.com/codebushi/gatsby-starter-dimension
After a while (I honestly didn’t expect it to take this long) the command finally finished. It created a new directory called “portfolio”, which I opened in VSCode.
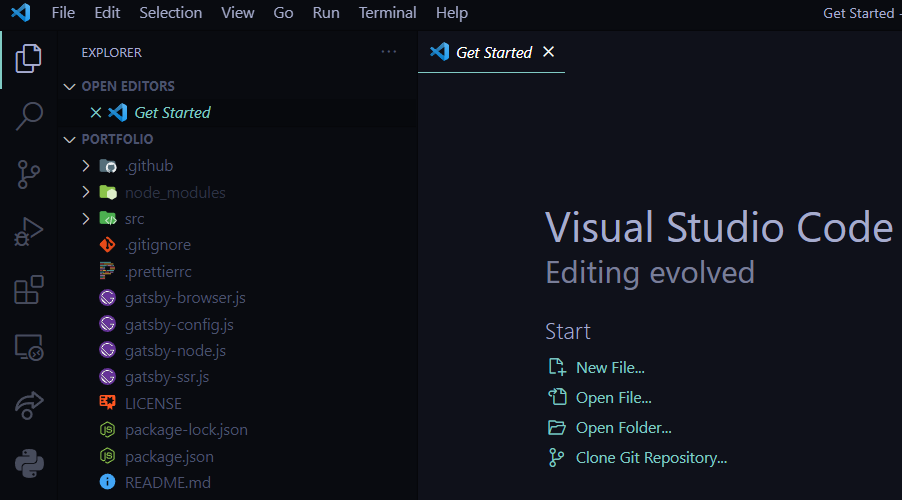
To test it we can run the gatsby develop command to start a development server and see live any changes we make to our portfolio. The port to access our portfolio should be printed in the terminal.

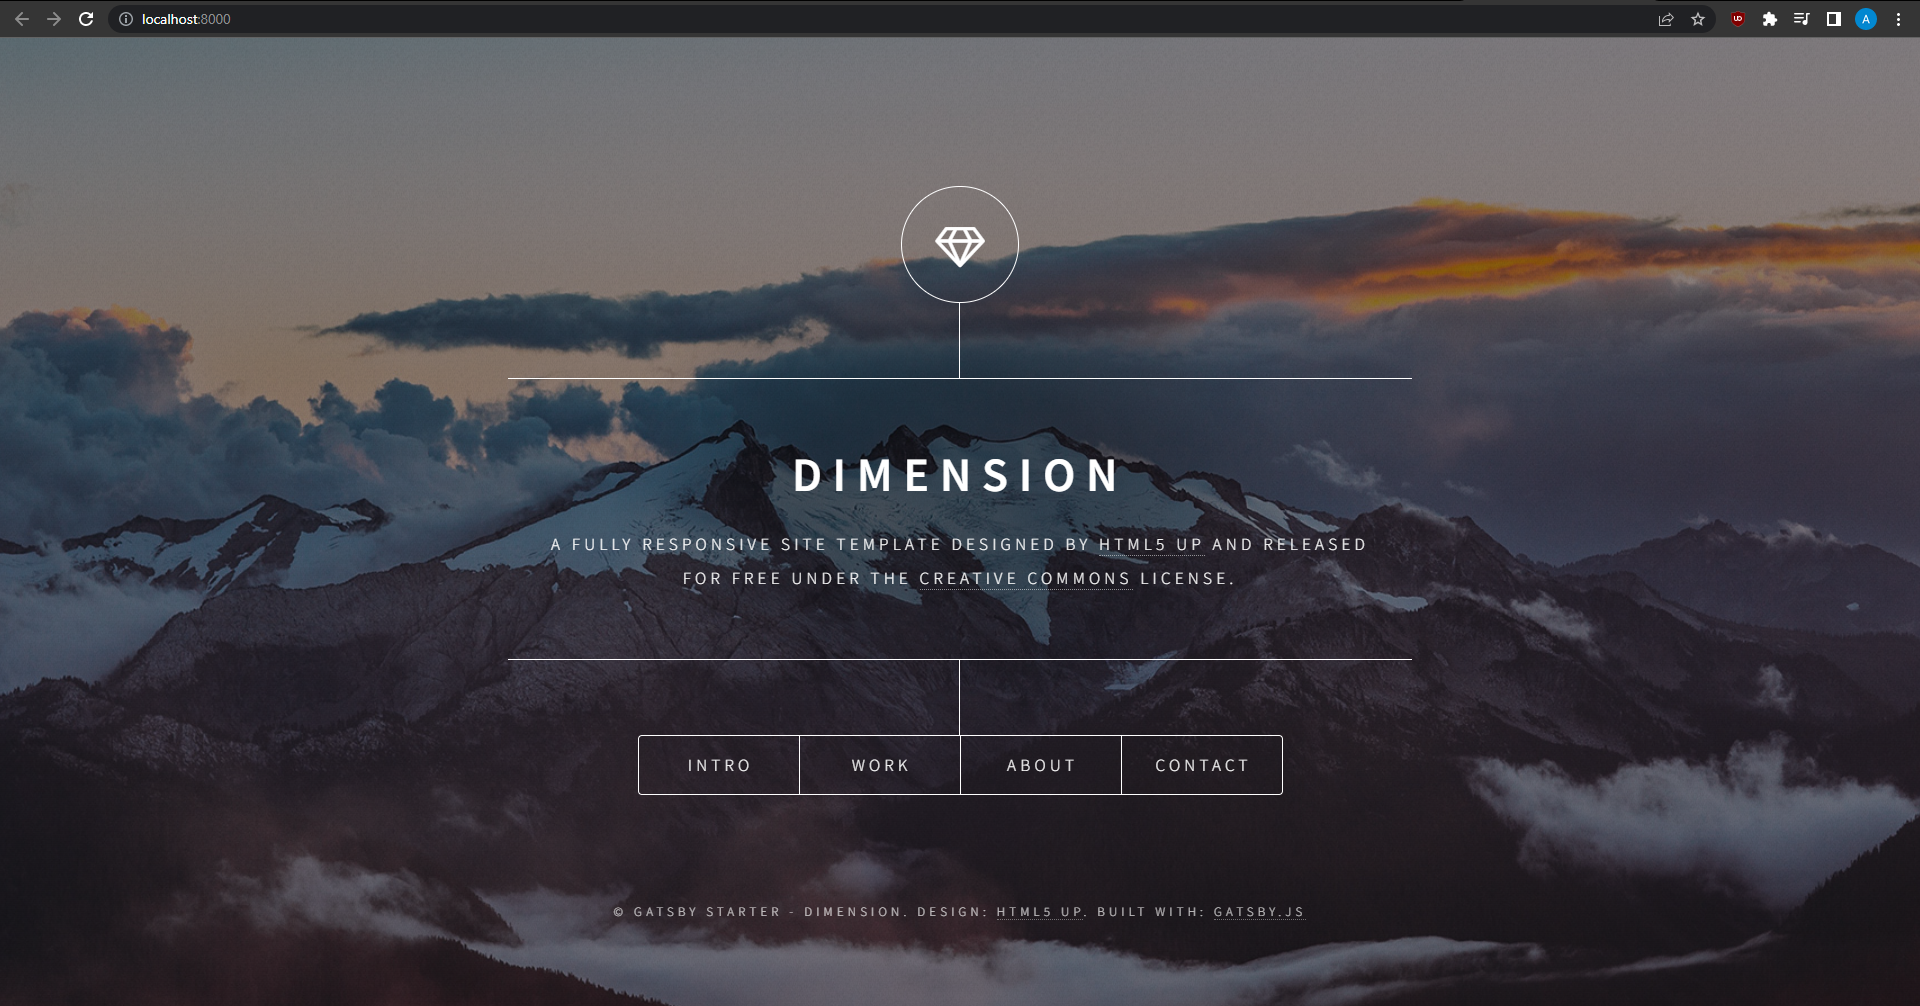
Now we can start making our changes :)
Adding our information
Now we can change the text from the template to turn it into our portfolio.
Modify files
The files that we want to modify are in /src/components/:
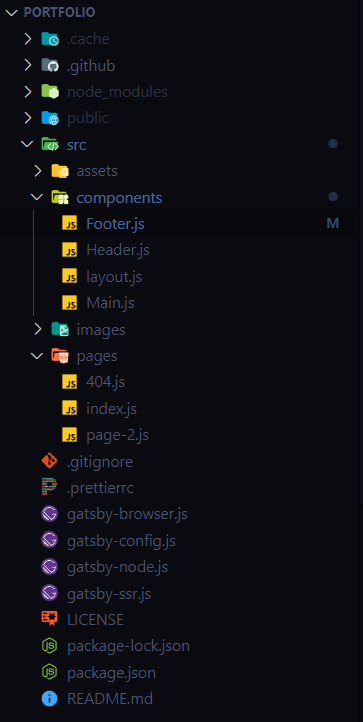
Those four files are the main that have the placeholder text. It’s now up to us to add whatever we want.
Change images
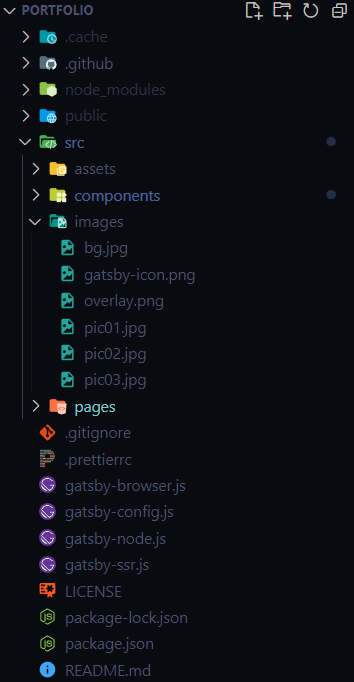
To change the images just replace them in the images folder:
How it looks now
After some time of adding my information I was happy with how it tuned out. At the moment of writing it is still missing the information in the “work” section (arguably the most important one lol) but I’ll get around to adding it later :)
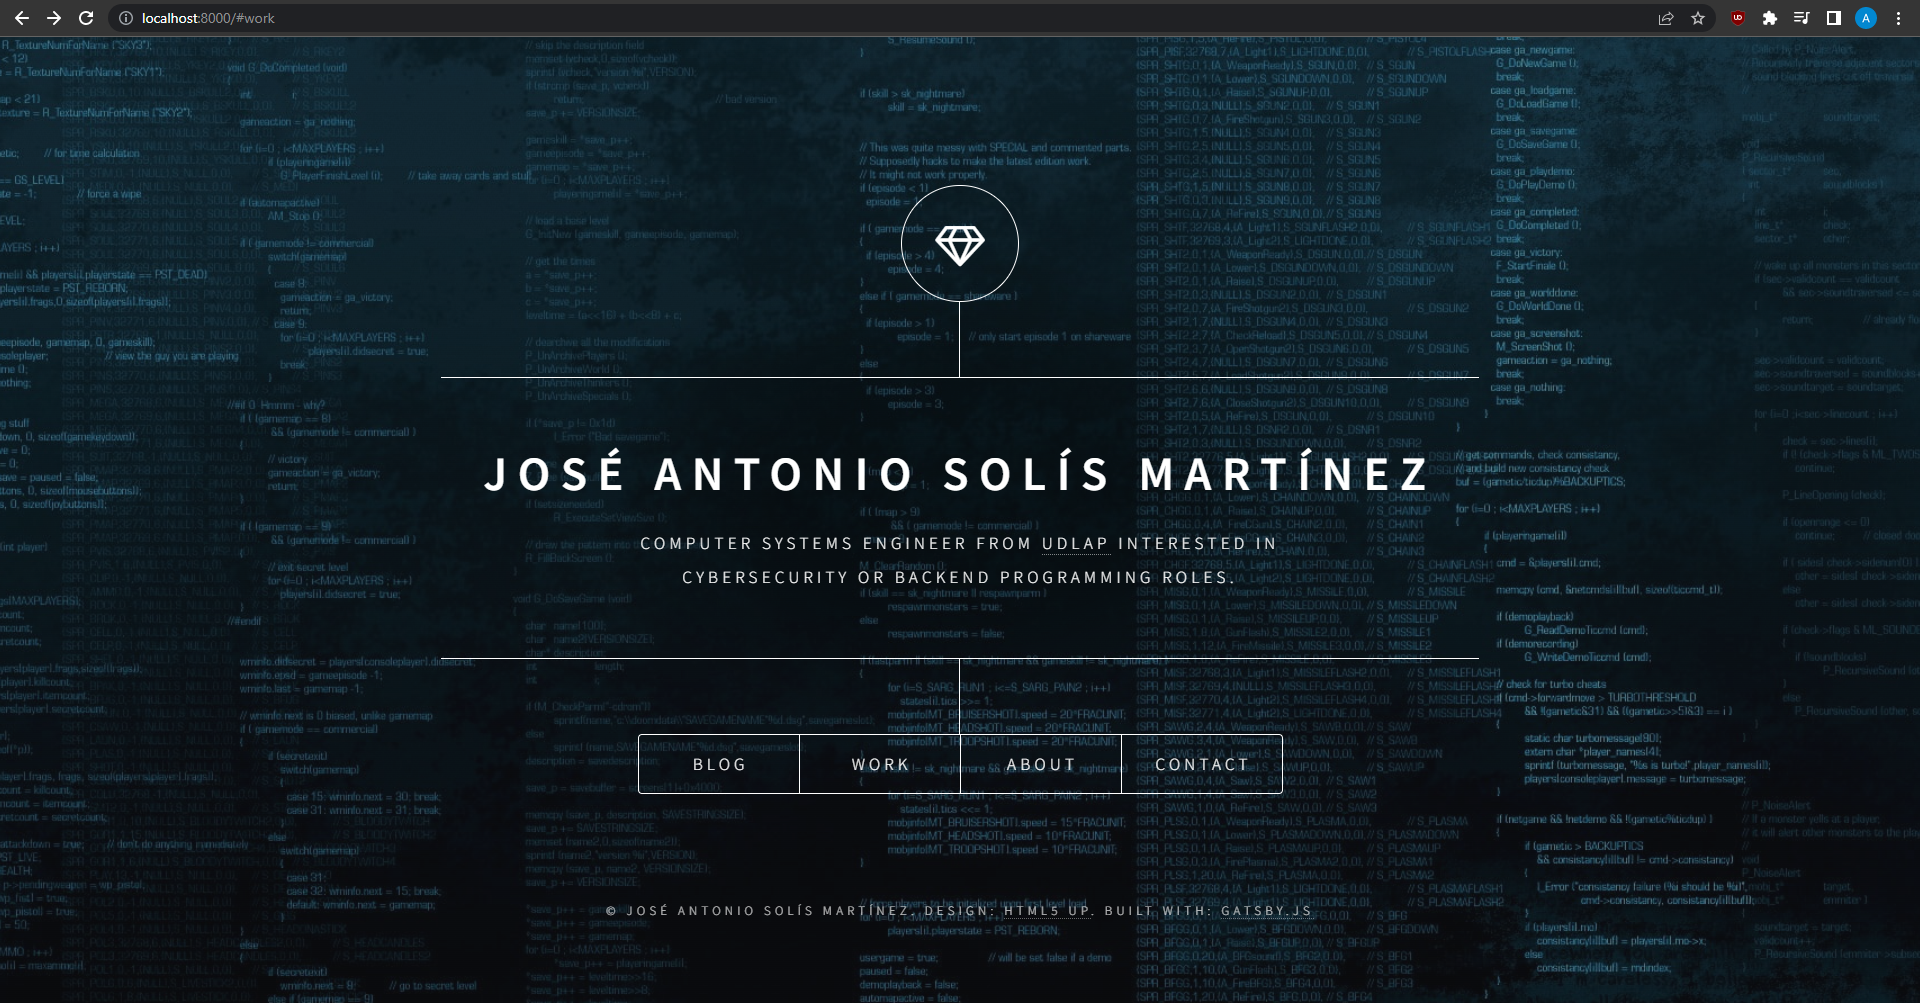
I’ll be adding new stuff constantly, so be sure to check it out.
Having finished the website, it is time to build it to turn it into a static site that can be deployed.
Building the website
To build the website we just have to run the gatsby build command.
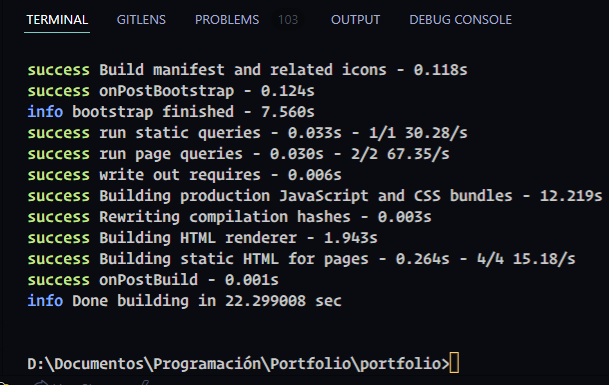
Once it finishes building we are ready to deploy it to our web server.
Deploying to the web server
Push to GitHub
I’m choosing to use GitHub to send my website from my development machine to my web server. This makes it so I just have to run a pair of commands in both machines, and I also was planning on putting the code in GitHub so it’s to birds with one stone.
I’ll use VSCode’s built in source control to make the process easier. (Note that I had to remove the public/ directory from gitignore).
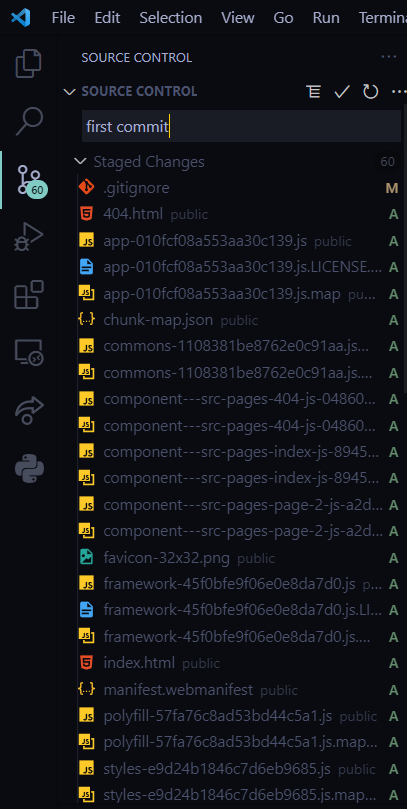
After commiting, pushing, and selecting the name of our repository, we get a success message.

Now we can pull the code in our web server.
Pull in Web Server
It’s as simple as running the git clone <repository-name> command.
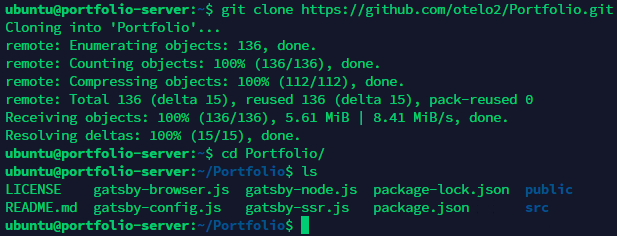
In the future if we want to update the changes made in another machine, we just have to run the git pull command.
Show our website
The static contents of our built website are in the “public” directory. To have Apache serve our portfolio instead of the Apache default page. One option is to copy this directory to /var/www, but I’ll use a symlink instead because I’ve never done one.
First we’ll back up Apache’s default page just in case.

Now we can create the symlink.
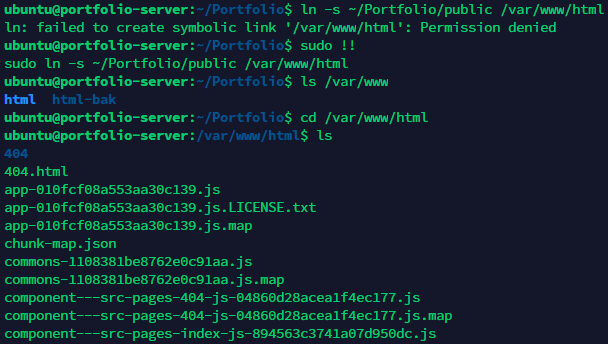
If the ln command doesn’t produce any output it means there wasn’t any errors. And checking the new /var/www/html directory, we can see that it has the website, so it truly was a success.
I wanted a symlink so the /var/www/html directory would be automatically updated whenever a make a new change and pull the changes, so I don’t have to copy it manually each time.
Visiting the website
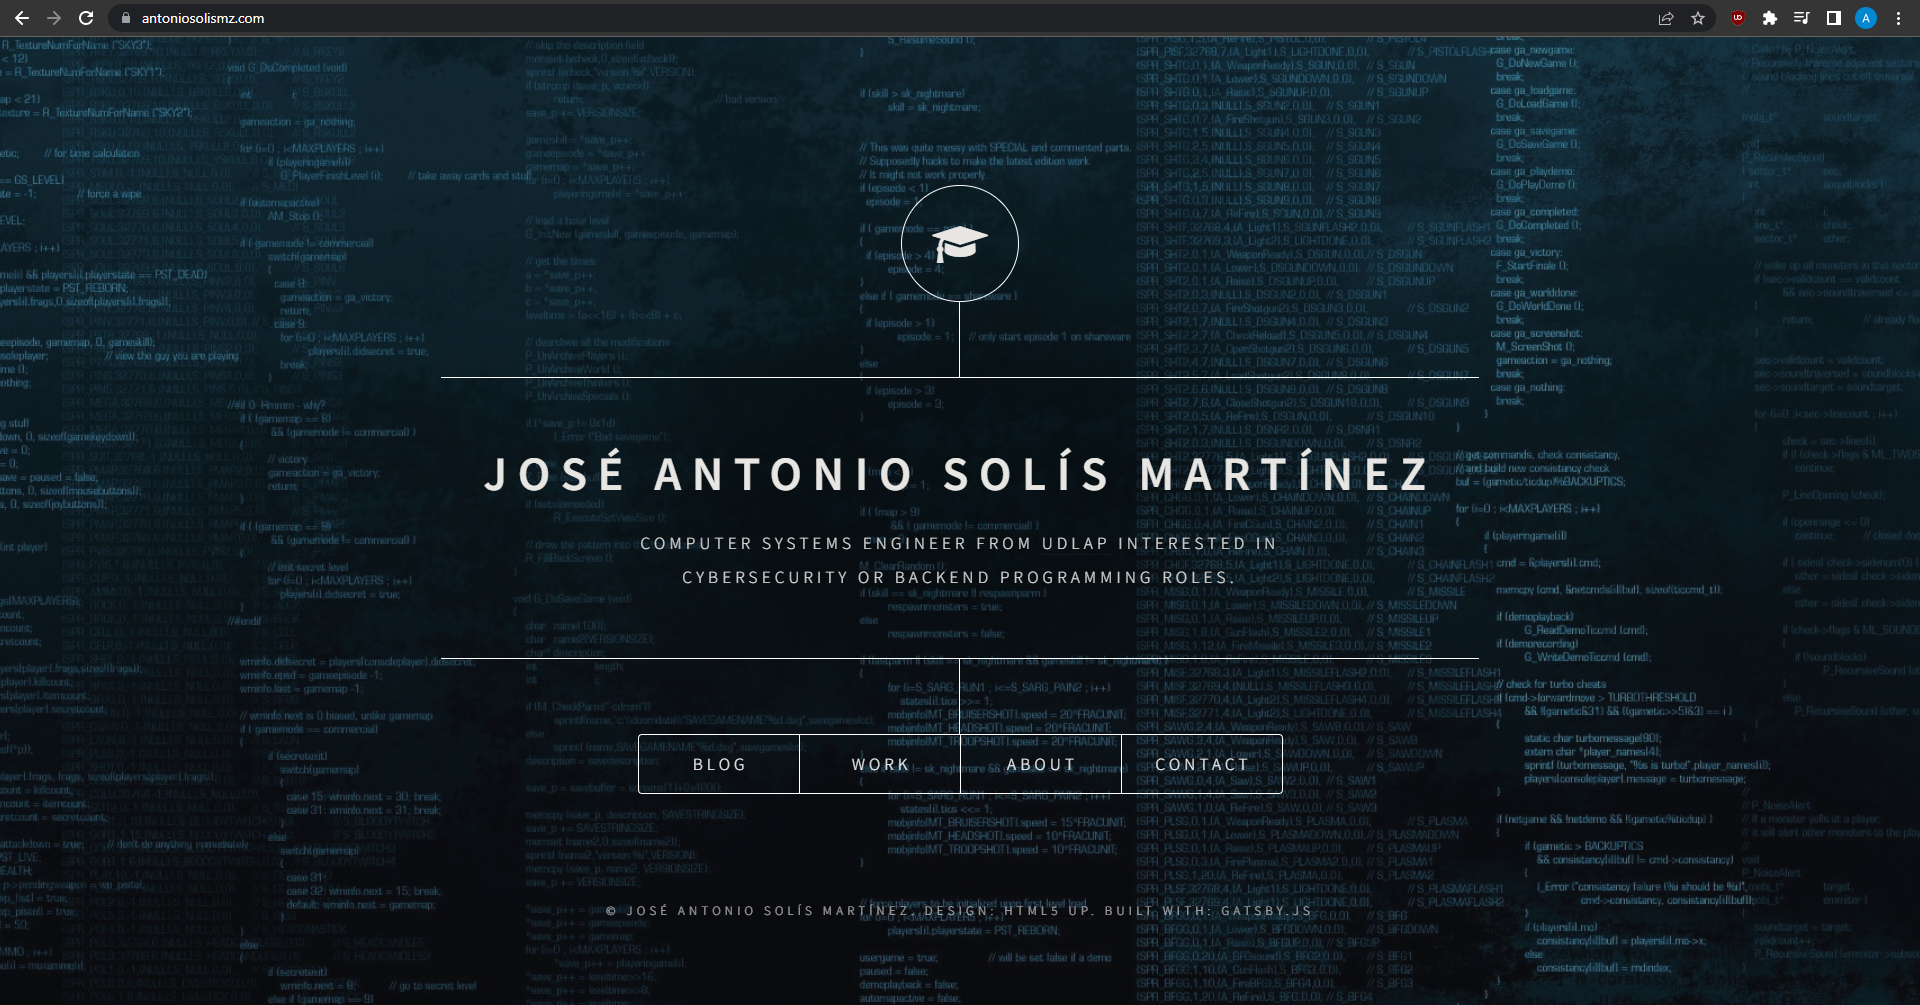
So now when I visit the domain https://antoniosolismz.com/, I can see my portfolio.
Conclusions
We used Gatsby to quickly create my portfolio website, modified the default template, and deployed it into a VM running Ubuntu that we got for free from Oracle Cloud. We also linked our domain and pointed it to the VM so our portfolio could act as the root of our domain.
This was a very fun project! I needed a portfolio anyways and learning about Gatsby was pretty cool (I love writing the fewest code possible). I have yet to fill the “Work” section but I think that we’ve come far today :) .
Thanks for reading this post! Let me know your thoughts and feedback in the comments or via Twitter.
Sources & further reading
https://github.com/codebushi/gatsby-starter-dimension https://gatsby-dimension.surge.sh/ https://www.youtube.com/watch?v=OfzqlUE2TDU https://www.youtube.com/watch?v=JxB_MY7IkME&t=182s https://www.wallpaperflare.com/technics-design-wallpaper-technology-modern-digital-business-wallpaper-rlgy/download