Migrating from Wordpress to Hugo
Table of Contents
Migrating from Wordpress to Hugo
When I first started my blog about a year ago I decided to use Wordpress since I had a bit of experience with it from using it when I was little, and I had a lot of fun setting it up in my OCI free instance and having to mess with the firewalls and security rules and Cloudflare SSL to make it work kind of ok, but after going a year without writing any blog posts I realized that I was blocked because the overhead of publishing in Wordpress just took out the fun of writing. This post is more anecdotal than the rest of my posts; where my previous posts were almost tutorials, this will be more of a general explanation of what I was doing, so I may skip over some parts. My advice is to avoid using this as a tutorial since you’ll have a hard time following along.
My setup for writing blog posts
I use the Obsidian.md program to write my blogs and I like it a lot, I’ve even made extensions for it that have gotten a surprising amount of attention. When I was using Wordpress, I would setup the draft in obsidian and then copy everything over to Wordpress using the editor, but having to copy everything and go through the lenghty process of adding the image attachments was just too boring. Since I’m already writing my draft in markdown, it made more sense to just export everything from markdown to HTML and then just putting the page in the server without having to worry about fumbling with more editors or more files.
Welcome, Hugo
After searching around, I found that Hugo was a popular solution for writing blogs and it used markdown, which was perfect for me. Then I just searched for a theme I liked and decided that it was time to migrate to Hugo. I also decided to start writing this post to document the process.
Setting up my programming environment
I recently got a cheap sever and made myself a very small homelab with proxmox, so since I’m still in the “play around with it” phase of using proxmox, I spun up a VM that I would use for my programming needs. This is nice because I can avoid cluttering my main computer with libraries and things that end up taking space but I just use once. For a very cheap server I’m really happy with it so far, it has a mobile i9 11th gen and I gave it 32GB of RAM and a 1TB SSD. Super overkill for the experiments I’ll want to do but it was too cheap not to lol.
I used a debian image and went through the install process, installing an SSH server to be able to use VSCode’s feature of SSHing into machines and having everything in the remote machine, but in my local install of VSCode.
After being set up in VSCode, I started installing Git and Go to the remote machine, as instructed by Hugo documentation

Thankfully the extended edition of Hugo is in APT so the install was very straightforward, and as expected there were no issues there.

After Hugo installed successfully I followed the setup instructions from the theme (https://themes.gohugo.io/themes/hugo-blog-awesome/), which meant running the following commands:
hugo new site myblog
cd myblog
git clone https://github.com/hugo-sid/hugo-blog-awesome.git themes/hugo-blog-awesome
hugo server --themesDir ../..
After running that last command, we can see that the install was successful:
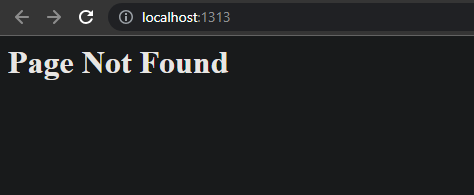
Somewhat, at least. We have to tell hugo which theme to use by modifying this line in the config.toml file
theme = "hugo-blog-awesome"
I got an error here, and I solved it by just stopping the hugo server and running this command instead:
hugo server
And we are ready!
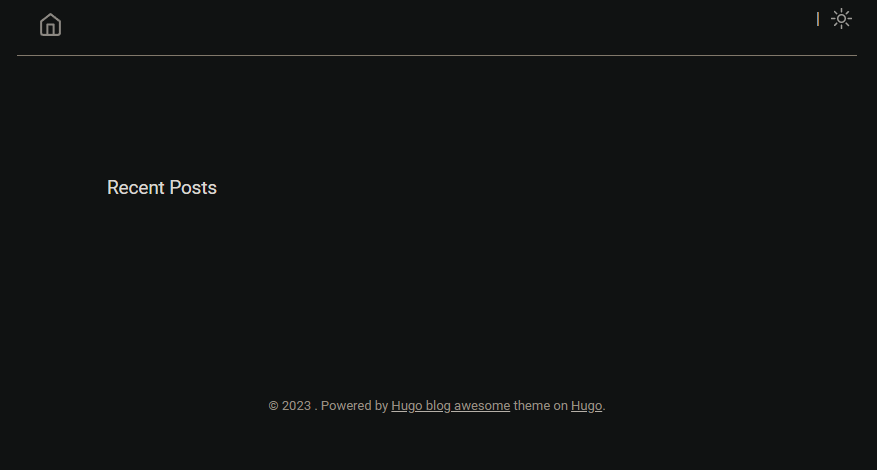
Following the configuration instructions of the theme, we are now going to add the favicon by placing it in the assets\icons directory.
That part didn’t work for me so I’ll fix it later, so lets continue by adding some social icons:
We can do that by adding the following lines to the config.toml file
[[params.socialIcons]]
name = "github"
url = "https://github.com/hugo-sid"

[[params.socialIcons]]
name = "twitter"
url = "https://twitter.com"

[[params.socialIcons]]
name = "Rss"
url = "index.xml"
I just needed GitHub and LinkedIn so I added them and they looked great
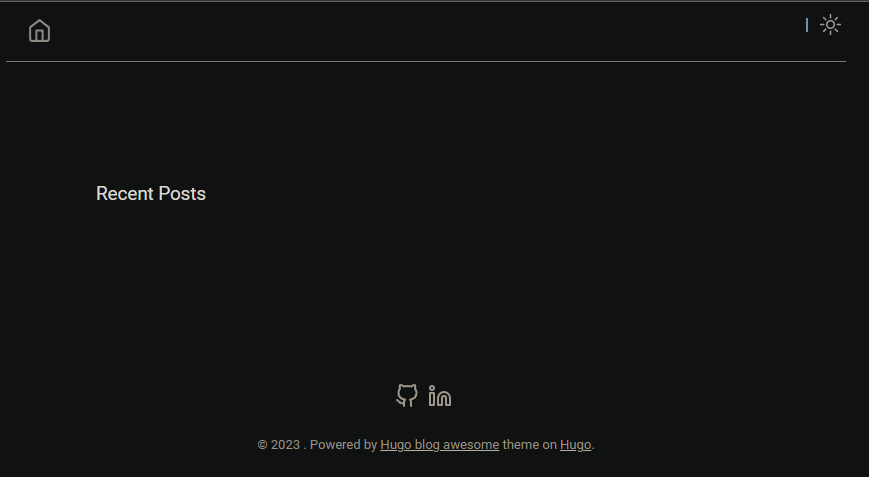
And for the last step of the configuration, we’ll create a first test post that we can build on top of, by running the following command:
hugo new posts/my-first-post.md

Just remember to set draft: false so you can see the post in the page
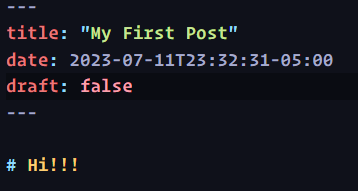
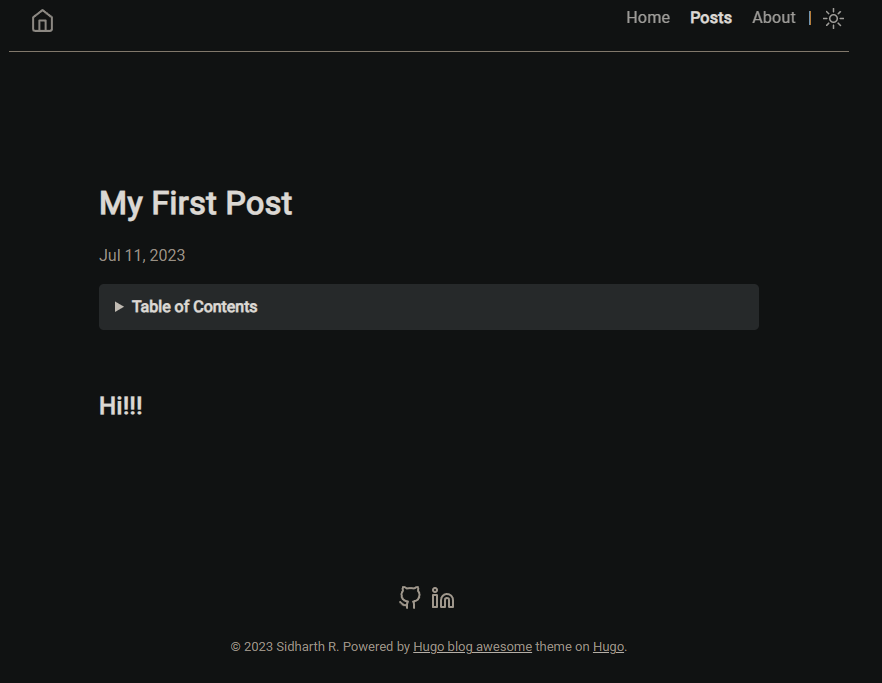
And so, by the end of the first day the page looked like this:
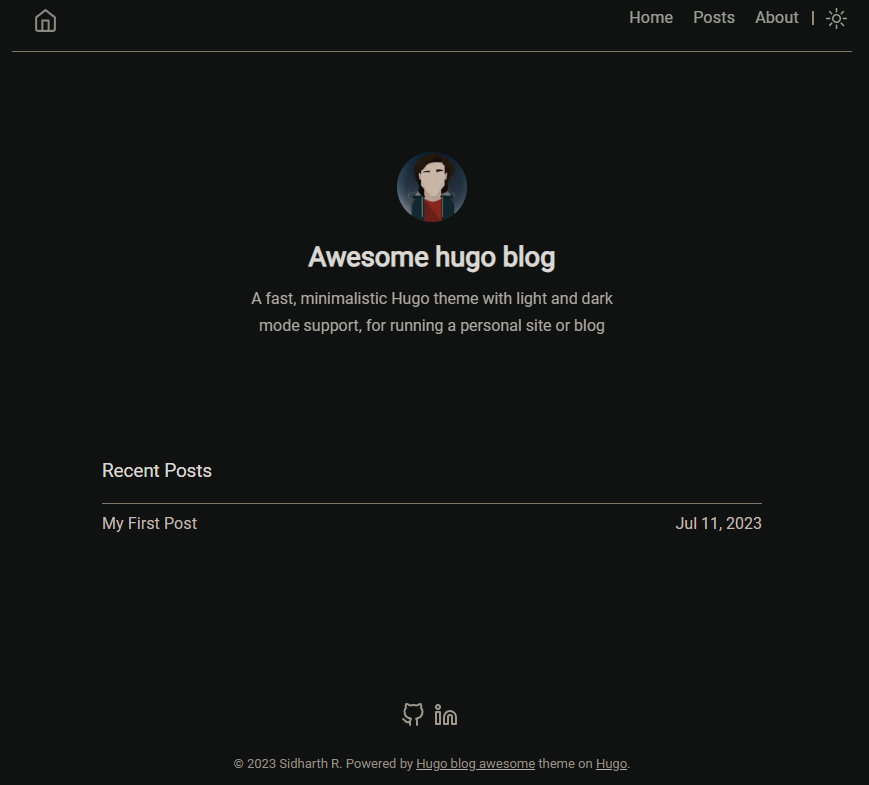
Not bad!
Add the existing blog posts to the new blog using a community plugin
Since I already had the posts written in Obsidian I had them backed up, and having them in markdown made it easier in my mind to export them to Hugo. After searching around for a while I found an community plugin called “Obsidian Enhancing Export” which, among other things, said that it could export to Hugo, so I installed it to try it out
Once installed, I went to one of the posts and opened the command pallette, searched for the “Obsidian Enhancing Export: Export to…” command and ran it.
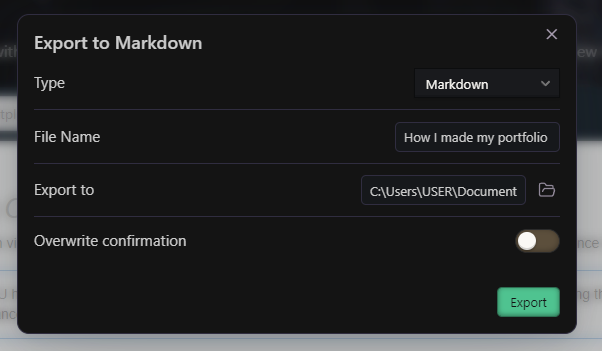
It opened this nice modal, of which I selected the “Markdown (Hugo)” type, the default filename, the location that I wanted it to be exported to, and enabled the overwrite confirmation. Then I just clicked export and hoped for the best…
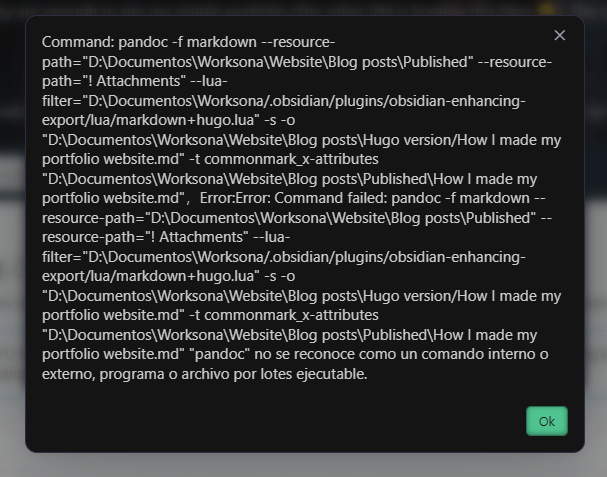
Aaaaand of course I jinxed it. From the error message I saw that pandoc was missing, so I just had to install it to my machine. Thankfully pandoc can be installed by chocolatey so I just ran the command.
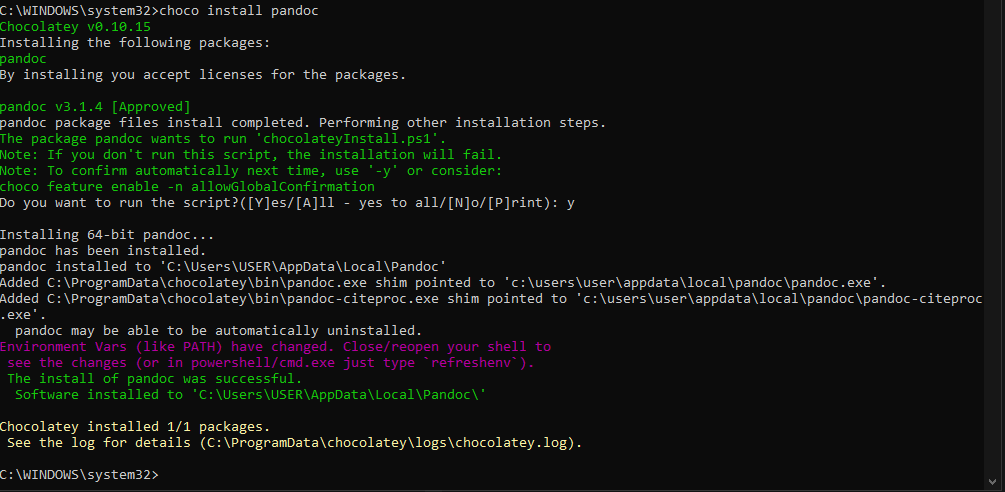
After restarting Obsidian I tried to export it again and it looked ok
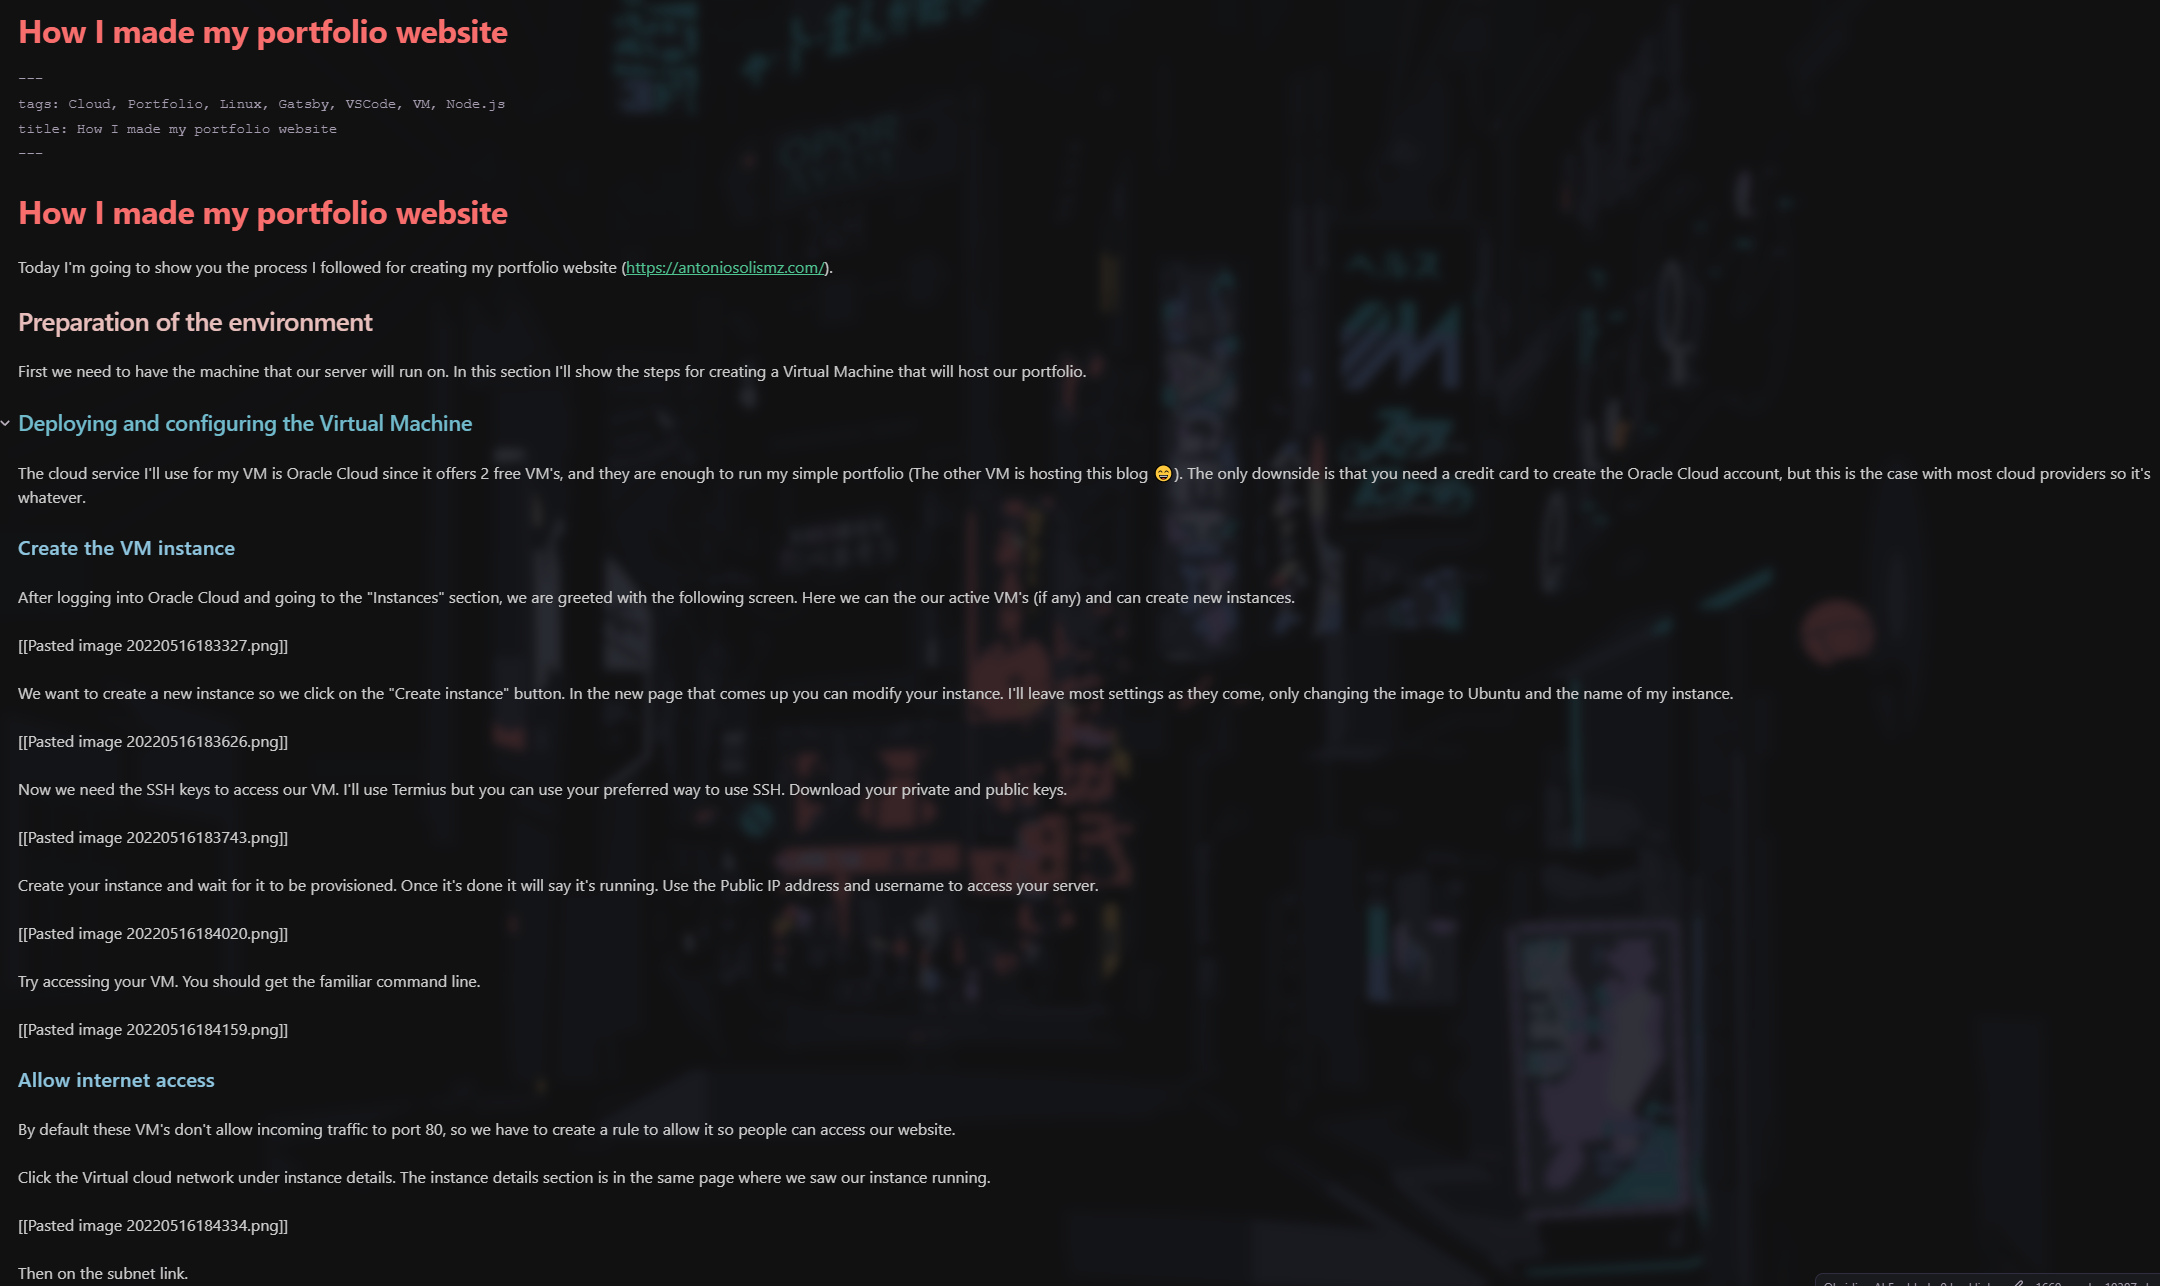
But my images were nowhere to be seen! At this point I had no idea if Hugo would automatically render them or if I had to keep the “!” in front of the filename of the image, so I tried adding the file as-is to the site and seeing what happens…
And as expected, the links had been converted to text, and this was confirmed by taking a closer look at the exported Hugo version:

It escaped out the html link. This was honestly super disappointing. I expected the plugin to give me a folder that I could just drag to my blog directory and it would include the attached images in a separate directory and all the links fixed. Oh well, I’ll just have to uninstall that plugin and do the process manually
Add the existing blog posts to the new blog manually
So to do it manually, I just copied over the blog in markdown format to the blog directory, moved all the image attachments to the static directory of the blog, and modified the image links from the wikilink format [[]] to the markdown format [](/). To perform that last transformation I used this configuration in VSCode

After that, it looked as I wanted it to:

Now I just had to fix the date by adding it to the frontmatter. I added this template for my future blog posts also:
---
title: Migrating from Wordpress to Hugo
keywords: "ADD, TAGS, HERE"
date: 2023-07-11
description: "DESCRIPTION HERE"
draft: false
lastmod: 2023-07-12
---
And that’s it! My blog is now ready and this is how it looks now:
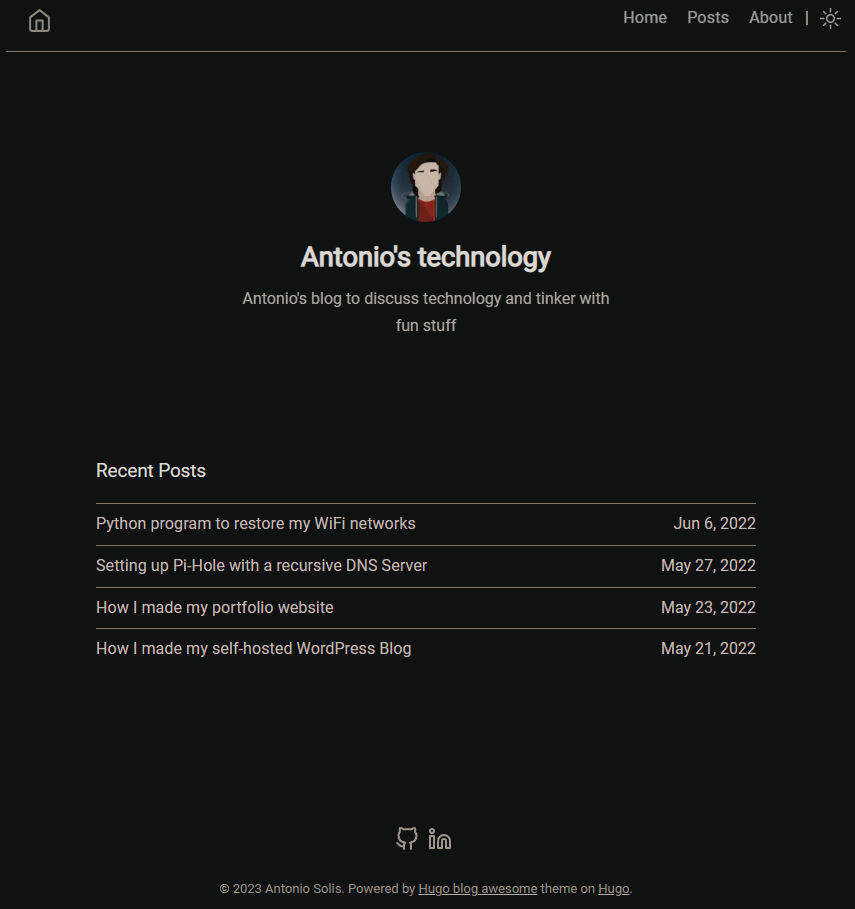
I’ll likely be doing more changes to it as time passes, but for now I’m happy with how it looks and how light it is (at least compared to wordpress)